Configuring your TP-Link TD-VG5612 for NBN
This quick setup guide will assist you in configuring the TP-Link TD-VG5612 Modem/Router for use with Net360 nbn™ FTTP Service.
Instructions
Locate your nbn™ connection box. It should have the nbn™ logo on the cover.
Remove the nbn™ connection box cover.
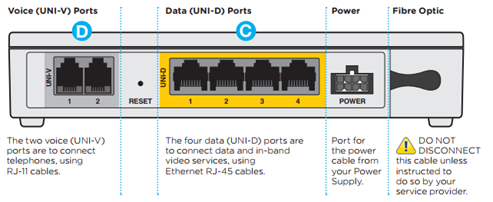
Location the correct Data (UNI-D) Port. This should be clearly marked on the device.
The UNI-D port to use is provided to you in the welcome email you should have received.
If this is your first nbn™ service, it is most likely the port to use will be port 1.
2. Perform the physical installation of the device per the TP Link user manual, which should include:
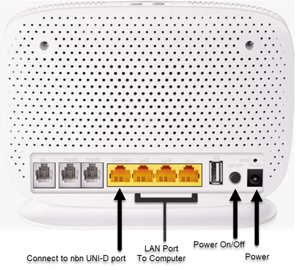
a. Connecting the RJ45 Ethernet cable between your nbn™ FTTP NTD and the modem’s WAN combo port.
b. Connect an Ethernet cable between the LAN Socket and your computer’s Ethernet port
You can perform installation via wireless, but for simplicity, we recommend first setup to be performed via Ethernet cable.
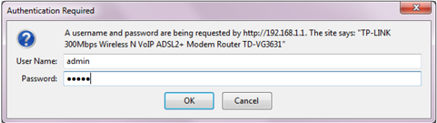
3. Open a web browser and open http://192.168.1.1
4. Enter the Username admin and the password admin
5. Click on Operation Mode and select “Wireless Router Mode”
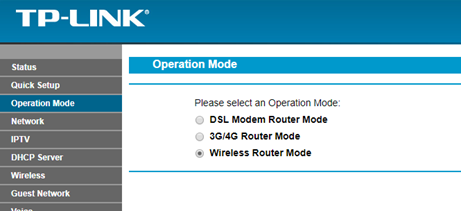
Click on save, your modem will restart automatically.
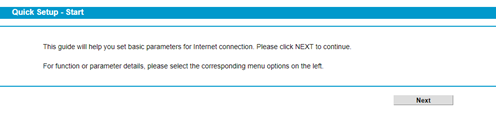
6. After the Modem reboots, click on Quick Setup
7. On the quick setup start page, click Next
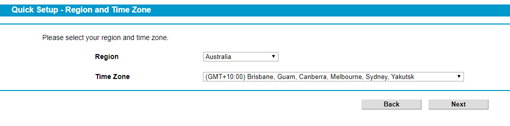
8. Select “Australia” from the drop-down menu of Region followed by selection of the appropriate time zone and then click Next
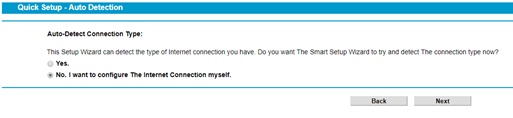
9. Select “No” on the Auto Detection Page and then click Next
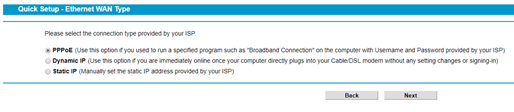
10. Select “PPPoE” on the Ethernet WAN Type Page and then click Next
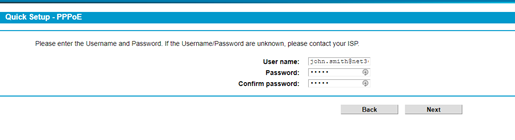
11. Enter your PPPoE username and password supplied to you in your NBN Welcome Email

12. Leave “Enable 3G/4G as a backup solution for Internet access” unticked and then click Next

If you have purchased a compatible 3G/4G USB modem you may set it up here. Configuring 3G/4G backup is out of the scope of this document. Please refer to the TP-Link manual for instructions on setting this feature up
13. Configure the wireless feature of the modem by selecting enable. Proceed to enter your preferred WiFi settings into the form. When done click Next
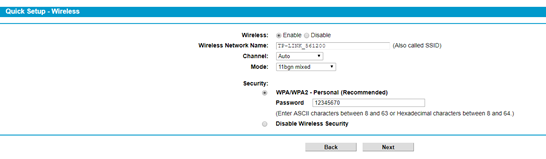
Please ensure you choose a password that is not easy to guess, as dictionary or common words used as the wireless password can be easily compromised
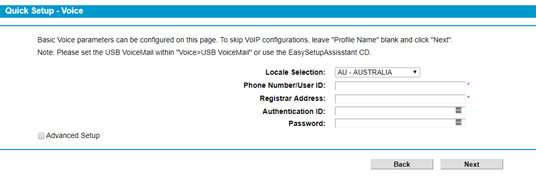
14. If you have a purchased a SIP service, you may optionally enter it here. Otherwise leave these settings empty and click Next
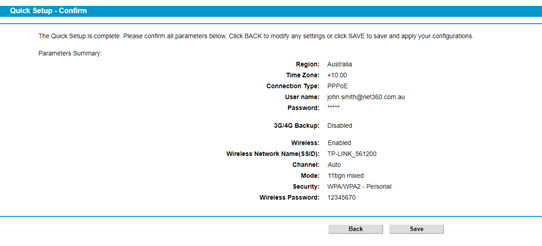
15. Finally review all the device details, and it everything has been entered correctly, click the Save button. Your modem display status indicators confirming the configuration process
16. If everything was successful, you should see the following indicators illuminated on your device (from left to right):
a. Power
b. Internet
c. Wi-Fi (If enabled)
d. LAN4
17. In addition, you should see the following indicators illuminated on the nbn™ Connnection box
a. Power (Green)
b. Optical (Green or Green Flashing)
c. UNI-D Port (Green or Orange including flashing)